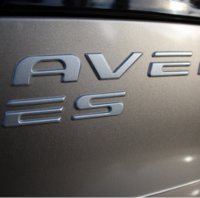
Nick's 1998 Dodge Avenger
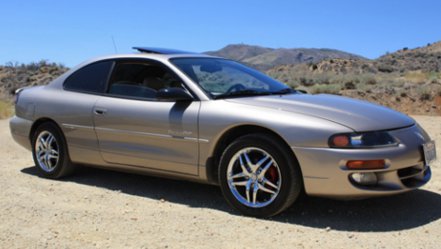
Vehicle Intro:
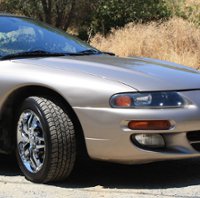
As with pretty much all Avengers and Sebrings from the 90's, my headlights were very fogged up with UV haze. I thought about replacing both headlights, but heard it was possible to make them look a lot better by wet sanding and adding headlight lens polish or clear plastic cleaner.
So, that's what I did. So starting with 600 grit and a watering can, I began to wet sand the plastic headlight by adding water to the sand paper and directly on to the plastic headlight. When I started sanding it, this nasty white and milky stuff appeared, and that's when I knew the top layer of hazy plastic was coming off. I sanded it with 600 grit and kept it wet the whole time, and probably after like an hour, I noticed some improvement and that the plastic was smoother. Also some of the milkyness stopped. It's fine to let the water dry on the projector headlights when you're not sanding, just don't sand it if it's not wet.. You will notice that when it starts to dry, it won't be clear yet, but very foggy, yet smooth. But that's what's supposed to happen..
I moved on to a finer 1500 grit and repeated with the 1500 as I did with the 600. I noticed that the milkyness was returing again, because the finer sand paper reaches deeper in to the plastic's surface. After the surface became smoother and it looked like most of the scratches and nasty patches of haze were gone, I went on to use 2000 grit paper to finish it up. When I was done sanding, it looked a lot cleaner and felt smooth, but it was pretty foggy on the surface from the sanding. So that's where the polish came in handy.
I actually went through the whole sanding process about three times, over the course of like 6 months. The first time of the sanding process, I only had 600 and 1500 grit paper, because I couldn't find 2000. But the results were much better than before. I reapeated the sanding again a couple of months later with the 600 and 1500 grit and polished at the end. I was finally able to find some 2000 grit paper at a paint store and that helped even more in clearing up the headlights.
For the headlight lens restoring polish/plastic cleaner and polish, I used BLUEMAGIC the first two times, with good results. After a few monthes, the lights were still kinda clear, but felt rough again. So, for the third sanding process I was to do, I used the 2000 grit sand paper and a new bottle of MEGUIAR'S PLASTX. In the end, the 2000 grit made the lights look a lot better. I added the PLASTX to the headlights, and at first, they became very clear. However, when when they got wet or dried over night, they began to get foogy-like again, and not very clear anymore. I then used both the BLUEMAGIC AND PLASTX, one on each of the headlighta to compare the two, and the BLUEMAGIC seems to keep it's clarity better compared to the MEGUIAR'S PLASTX.
List Of Dodge Accessories:
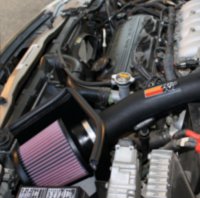
- - 24 Valve, 2.5L (152.4 cid) SOHC V6;
- - Automatic transmission (replaced shortly after 50,000 miles);
- - Gold (caffe latte) paint;
- - Full ES package;
- - Tan leather seats + tan and black interior;
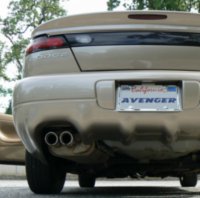
- - Stock Walker dual outlet muffler (with add-on pilot tips);
- - Power sunroof, power driver's seat;
- - Front and rear double-wishbone suspension;
- - 17" ICW Racing Wheels;
Nick's 1998 Dodge Avenger Gallery
Source: https://www.cardomain.com/ride/2923521.